Make your Own Cold Porcelain Clay
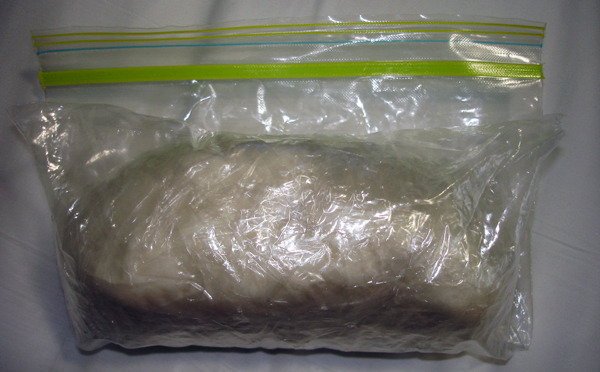
Review of the recipeHere’s what the cold porcelain looked like right after I finished kneading and storing it. I used Saran wrap and a Ziploc bag. Make sure whatever you store your cold porcelain in is air-tight!
I didn’t add any white paint to it (like the tutorial does), because I learned from another review that if it has too much paint, the consistency is ruined (and it becomes a sticky goopy mess that you can’t work with at all.) You can’t really tell in this photo, but it’s a creamy-looking off-white color. I had a few problems making this recipe, all of which can be prevented if you have the right ingredients and the right measuring tools. First, I didn’t have any baby oil, so I used coconut oil instead. Second, I couldn’t find a 1-cup measuring cup, so I used a 1/2 cup measuring cup twice (to get 1 cup). And third, I used tacky glue instead of regular school glue. I don’t think the glue matters, because I’ve seen recipes using either one that work out perfectly. |
|
Pro
|
Con
|
|
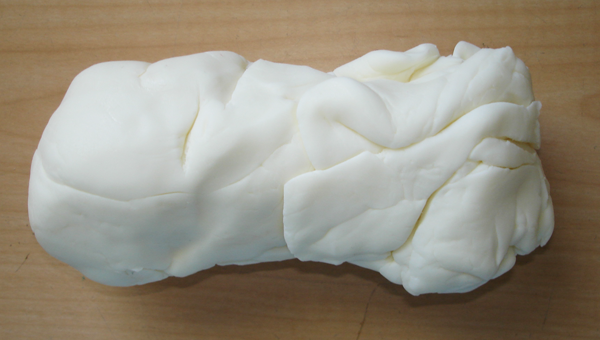
There’s a secret to making cold porcelain that took me a while to figure out. The time needed to cook the cornstarch/glue/baby oil/vinegar mixture in the microwave depends on the microwave. In my first attempt, I cooked it for 30 seconds three times, mixing in between, and the final cold porcelain didn’t have the consistency I wanted. It was too stiff, and didn’t make little whippy tails when I pulled it apart.
In fact, I had trouble rolling it into a log, and pieces of it cracked as I was rolling it! Here’s a picture of my failed log. As you can see, it’s got cracks all over it, and isn’t a consistent dough at all. So, lesson learned, everyone: It will take you a few tries to get it right, because you need to experiment with your microwave! In my next attempt, I will use 10 or 15 second intervals rather than 30. I have a feeling 15 is the magic number for my microwave. As for the batch that I have now, I’m going to wait the recommended 24 hours and see how it turned out. I’m hoping that the moisture that’ll collect in the Saran wrap will help make it softer. If not, I’m going to try kneading it with lotion. |
|
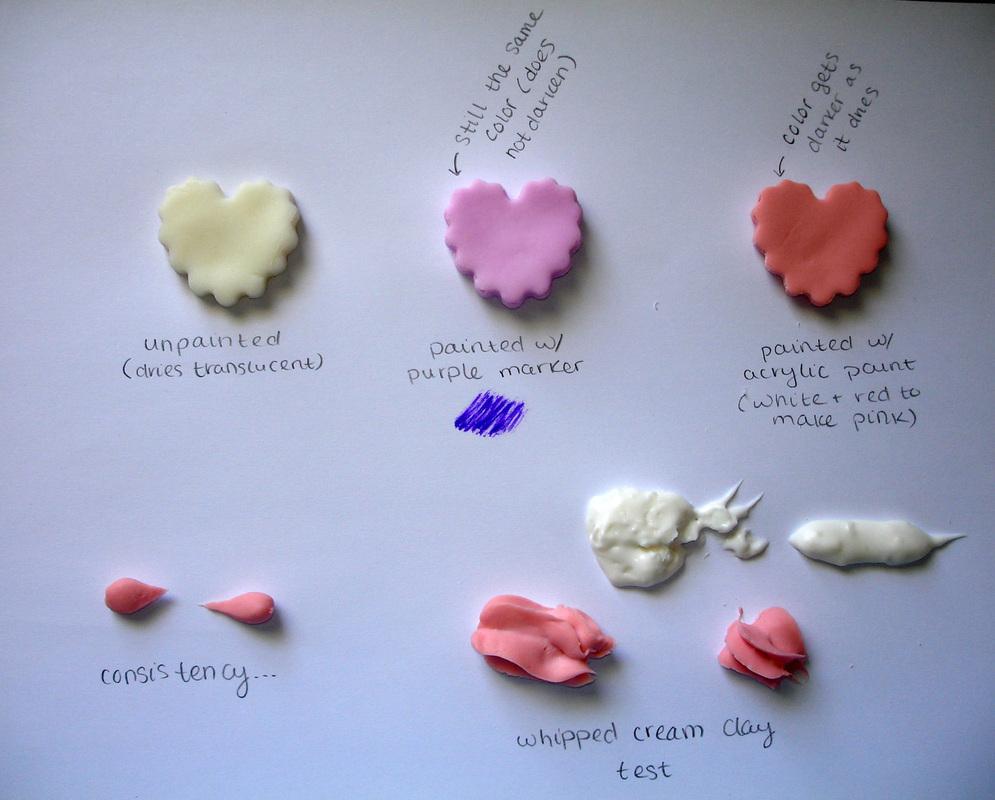
ColouringAfter waiting 24 hours to allow my first batch of cold porcelain to cool off, I decided to test it out. I tried coloring it using acrylic paint and markers, I tried shaping it using cookie cutters, and I tried making whipped cream clay out of it. As you can see in the picture, it was pretty much close to impossible to get the cold porcelain to form a consistent cream.
In the both attempts, I used water, because when you make cold porcelain, you already put glue in there (it gets really sticky once you add water, so there’s really no point in adding any more glue). In the first attempt (pink cream), it held its shape really really well — I was surprised! However, it was difficult to pipe it out, and it had the consistency of slightly dry silicone. Also, it was still easy to pick at it and form little balls, which meant that I didn’t put enough water. In the second attempt (white cream mess), I clearly added too much water. There were also lumps, and no matter how much I mixed and smashed, the lumps wouldn’t blend in with the rest. As a result, it was also really difficult to pipe out. Both attempts were also extremely messy! I think I’ll stick to silicone for now. (In fact, I think I’ll give that silicone mixture idea a go and see how it works out…) Interestingly enough, however, adding a little bit of water to the cold porcelain allowed it to achieve the consistency that I originally wanted. Initially, I tried lotion, which did not work like I thought it would. Be careful when adding water though — it gets really sticky really fast. Keep kneading it one drop at a time until it loses its stickiness (it does, don’t worry!). |
|
|
As for coloring it, it worked out really well! I was very pleased (and amazed) at how well it took color from markers. Any markers will work, I think, but obviously ones that are washable are easiest to clean off your hands. There is a huge difference in color between acrylic paint and marker that should be mentioned. While the cold porcelain colored with marker retained its color, the cold porcelain colored with acrylic paint got a bit darker in color. This might be due to the paint drying. So, if you want light pastel colors, don’t use paint, use markers instead. (This tutorial video shows you how to use markers to color your cold porcelain, if you missed the link in part 1 of this review.)
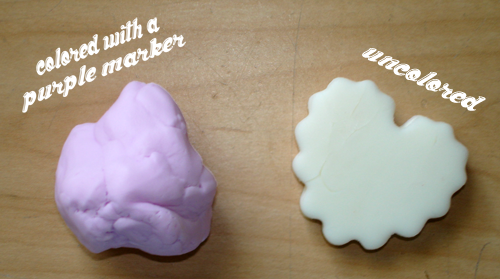
It is also worth mentioning that if you do not color your cold porcelain at all (i.e. put white acrylic paint in it after you make it) it will dry somewhat translucent.You can see the difference between the purple cold porcelain on the left, and the “raw” uncolored cold porcelain on the right. The color of the “raw” cold porcelain, in case you can’t really tell by the photo, is an off-white sort of yellowish color. It’s not white at all, so if you want to make it white, you have to add paint to it. I’m not sure how much the color will darken after you add white paint, but since it’s white, I don’t think the difference will be too noticeable. Once again, if you add white paint to it, I wouldn’t recommend adding any other color of paint afterwards. The cold porcelain will lose its consistency and it won’t be easy to fix. |
|
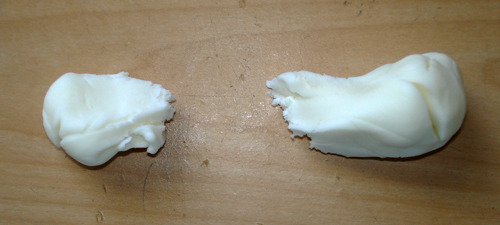
ConsistencyConcerning consistency, here’s what it shouldn’t look like.This is what it should NOT look like. See how dry and cracked the edges are? This is what happens when you overcook your cold porcelain mixture! Once again, this is why it’s important to use small intervals and keep an eye on the mixture when you’re cooking it.
Last but not least, here are some additional points I’d like to add to the first part of this review. |
|
Pro
|
Con
|
~ written by creamiecookie from Creamie Cookie
