Bling Decoden Earbuds Tutorial (Credit: Geisha Baby)
Hello all! Today I thought I'd post a tutorial I've had saved on my computer for absolutely ages. I'm not too good at making tutorials as I never take pictures of the process or what I make. XD I have to literally force myself and this can take days. So, today I'm going to show you how to make cute, totally blingy decoden earbuds!
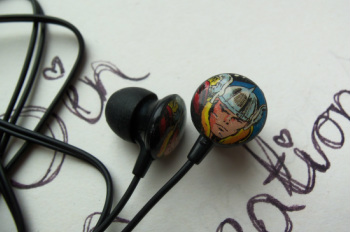
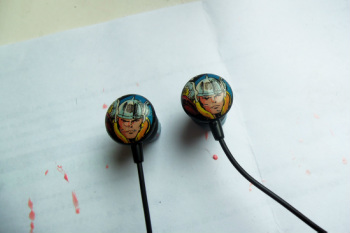
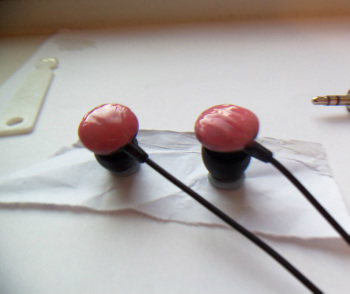
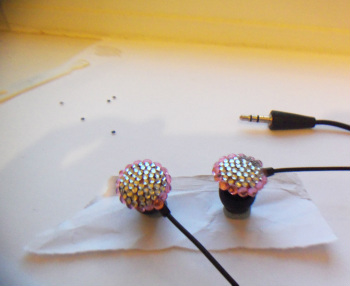
First, you need some earbuds. I actually found these in my boyfriend's shop and took the rubber things off and replaced them. Plus I gave them a good clean too. I'm not gross, honest! XD They have flat backs, which are the best for decorating but they had images of Thor on. XD After seeing The Avengers I don't think they're so bad but they definitely were not what I wanted when I first got them.
Now you need some Bluetack or white tack or whatever you can find to prop the earbuds up so you can decorate them. Stick the Bluetack on a piece of paper too so you don't get nail polish, resin, etc on anything. I put the Bluetack in the hollow of the rubber bits like so:
|
|
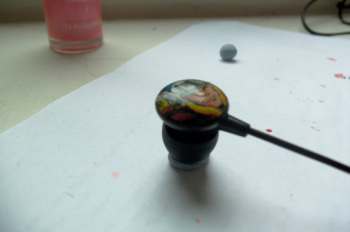
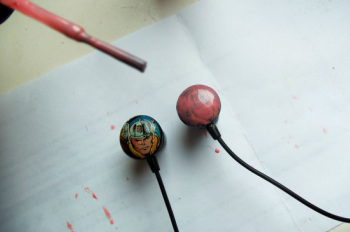
Now you have to paint the earbuds! I used a nail polish from Revlon and wanted a pink background. It's best to paint the background even if you're going to cover it all up with rhinestones so that it hides any little gaps or anything. I had to do quite a few coats of nail polish so that you couldn't see the Thor design. These pictures are of no coats and one coat.
|
|
These are after two coats and three:

|
|
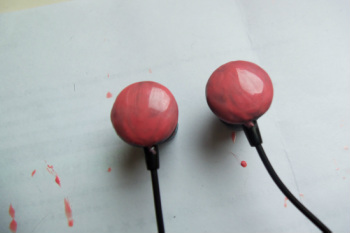
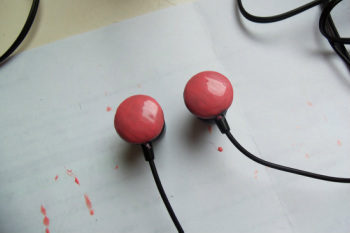
Finally after a couple more coats the design is finally covered up:
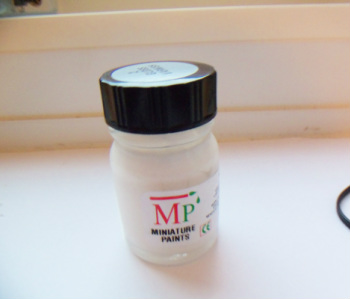
Next you need rhinestones, tweezers and something to glue them with. I use a 2 part epoxy resin from Araldite which has never let me down. I actually don't want to try cheaper brands (Araldite is £5.99) because I'm scared they won't be as good. XD
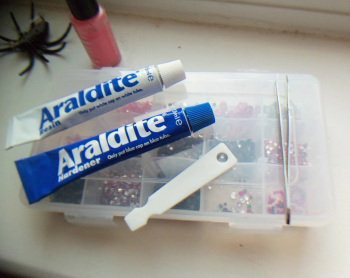
Mix the resin up according to the packaging (most resins are a 1:1 ratio of resin and hardener)

And apply it evenly all over the backs of the earbuds.
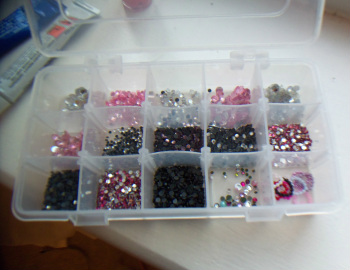
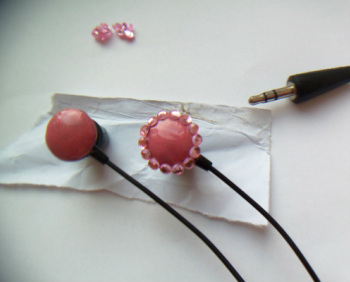
Next, choose the colour scheme you want and select your rhinestones. I wanted a clear/silver and pink look so I picked 4mm pink rhinestones and 3mm clear rhinestones.
Place the rhinestones where you'd like them to be. You can make a pinstriped, diagonal, leopard print, etc. design - whatever you like! I just wanted a pink border and clear rhinestones to fill the middle up. So, in my case, place the rhinestones all around the edge of the earbuds.
Carry on until you've done all the way round. I prefer working outwards in so that I don't mess up the design and can make an *almost* perfect circle. That would be much harder starting from the inside and doing it freehand.
Now, do the next earbud. Obviously. :P Sometimes I think I take too many pictures. >_<
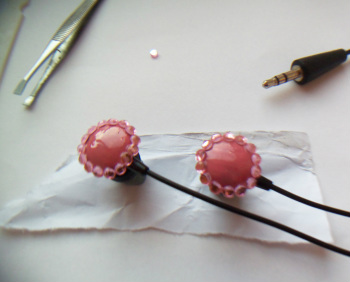
Now start with your clear, smaller rhinestones and follow the circle round but work your way inwards.
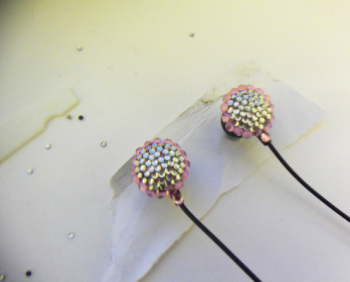
Here are the earbuds once I've filled in with all the rhinestones.
|
|
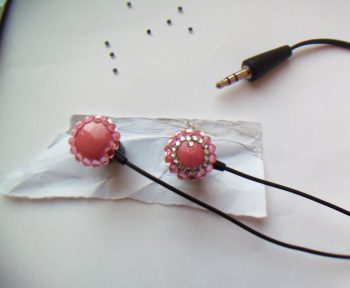
Now leave them to dry. I leave it a day or overnight just to be sure.
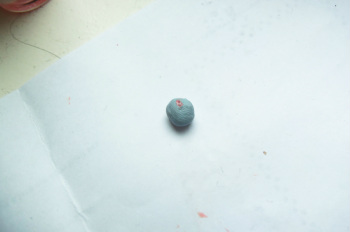
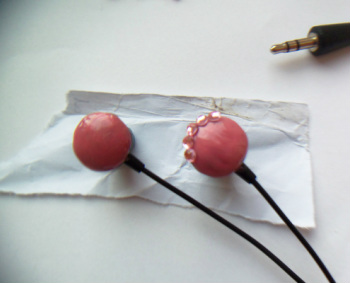
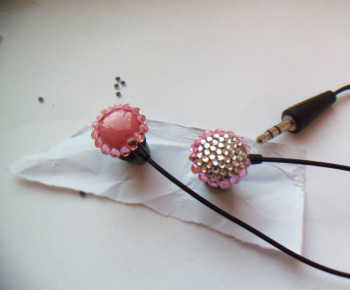
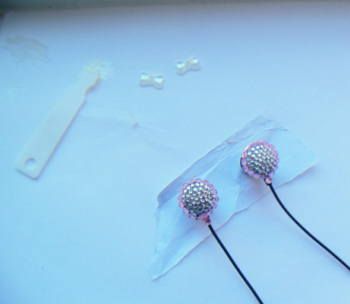
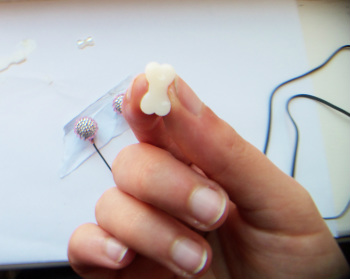
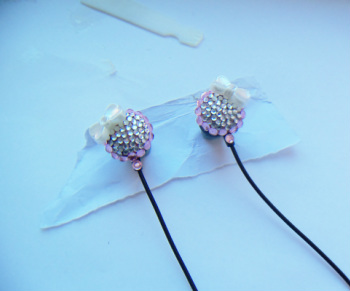
Next, I want some cute little ivory bows on the corner of the earbuds so let's prep those too! Mix the resin again but do a smaller amount as we only need a little bit.
Coat the back of the bow cabochon, not the earbuds so you can be more precise. ^^
Place the bows where you'd like them, like so and leave them to dry again:
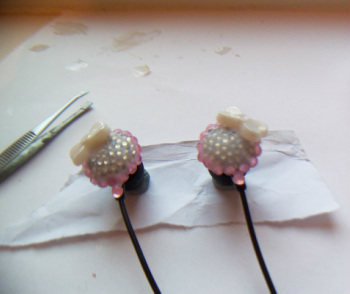
Next, you want to seal all your pretty work so they're more hard wearing and less likely to fall apart. Take some matt or glossy varnish, whatever you prefer. I wanted a matt varnish.
Coat the earbuds in it and leave to dry. My particular gloss varnish is white and dries clear so you know where you put it. Leave to dry again and you're done!
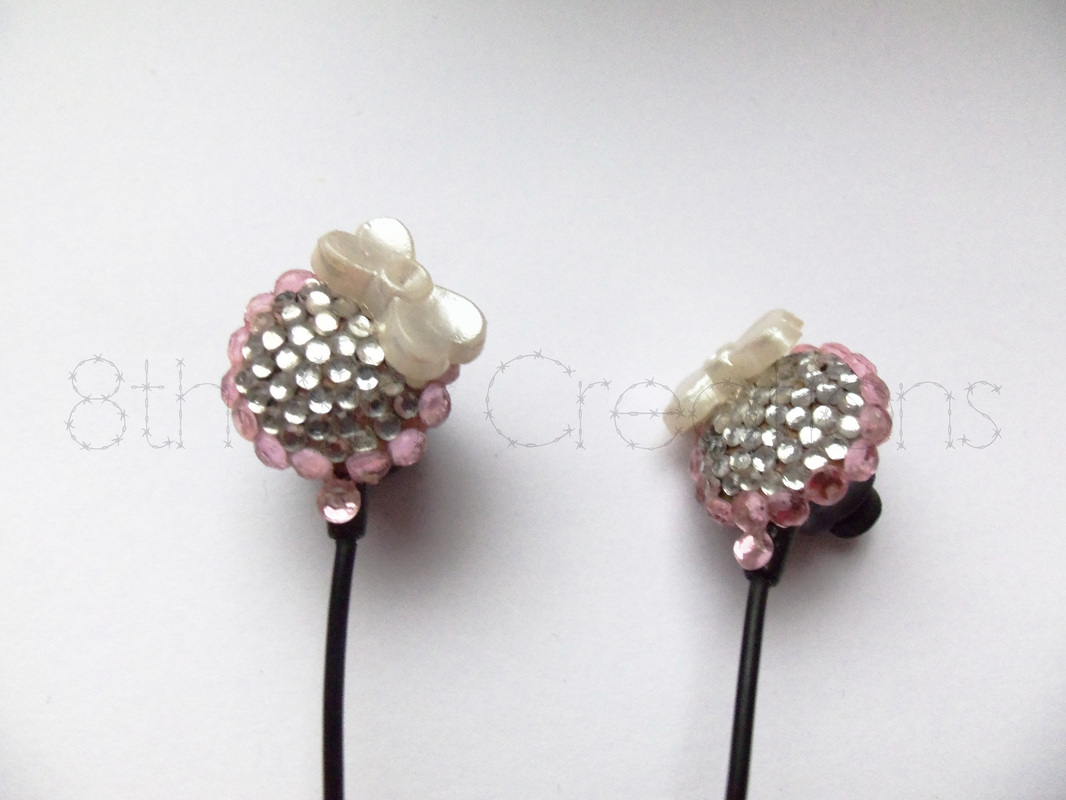
Now you can wear your new earbuds proudly and show off your blingy decoden style! I hope you enjoyed this tutorial and any suggestions for future ones would be much appreciated! What have you decoden-ed up?
|
|
